Welcome to the money pit.
Packrafting was another sport I wanted to get into, and like so many other outdoor sports it required a significant amount of money just to get on the water. All the gear was new and very specific to packrafting or kayaking, so I was looking at around $2500 to $3000 to get set up.
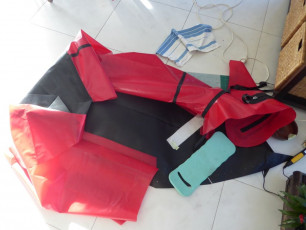
The idea of being able to build my own based off a kit was therefore very appealing, and I have made my own packs before so I was fairly confident in my ability to produce something that floats. I knew it probably wouldn’t be as good as a professionally made packraft, but DIY gear is always more fun to use even if you do have to put up with a few mistakes and blemishes in the final product.
DIYpackraft.com has become more and more popular in the last few years, and now there is enough information available to buy one of their kits and follow it without being an expert. At $250-350 for the kit, plus around another $150 for extras, tools, rope, Aquaseal, shipping etc. it is a massive saving compared to around $2000 for an Alpacka (the original and arguably ‘best’ brand) although not so much when compared to a Koaro packraft ($950-$1300 ish in 2018 and made in New Zealand).
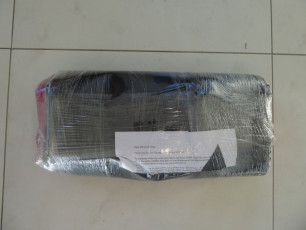
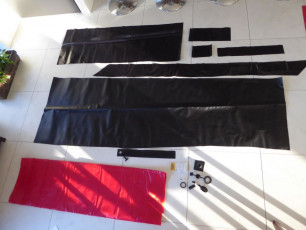
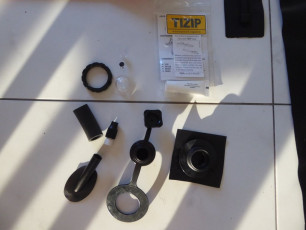
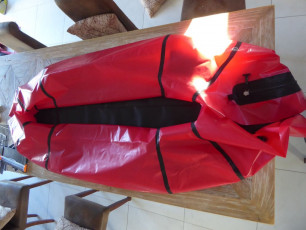
I chose the 1000D heavyweight floor, 130cm internal length and the TIZIP zipper which cost me $355 and I shipped it through Youshop.
The question for most people though is, is it worth it?
I would say that it entirely depends on how much you value building something yourself vs having the best product, and also how much you value your time spent. Unless you have everything go smoothly and quickly, it is a slow process and the more complete the packraft gets the harder it becomes to manoeuvre. I estimate I would have spent somewhere between 30-45 hours building it, but think I could do a second raft somewhere between the given assembly time of 15-30 hours.
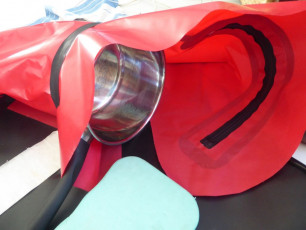
Fixing leaks (I had 3 small noticeable leaks) is annoying and demoralising, and I still can’t quite determine if I have one more leak. The boat loses a very, very small amount of pressure, but I can’t tell if that is just change is pressure due to the internal air temperature dropping. It is not 100% perfect, but has little or no effect on the ability of the packraft to go on a river. Depsite being very careful when building and attempting to avoid all leaks from the very start, it seems almost impossible to do. The advantage of buying a complete packraft is not having to worry about that (at least not initially).
I was hoping that being able to show the packraft that I had built to the Canterbury University Tramping Club might convince them to invest in some DIY packrafts that members can help build if they are interested, but now that I have done it I am not so sure. You really have to want to build it yourself, rather than doing it just to save some money, so I will have to see if there are others that are more than just slightly interested.
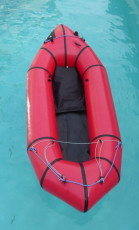
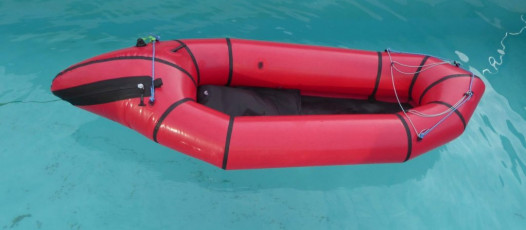
At the end of it all, I have built myself a packraft for around $550, and as I have no intention of paddling difficult whitewater it will be more than good enough to include in tramping and fishing trips.
If I was to build another, I would go the the 420D floor rather than 1000D to save the weight and make it more packable. I would also spend more time figuring out a quicker way to heat seal without risking melting all the way through or accidentally going onto the TPU film.
Stefan was a recipient of FMC’s Packrafting Training Scholarship, and is taking his Packraft to Georgia, Armenia and Azerbaijan at the end of August for a couple of months… Watch this space for a comprehensive report on how the DIY packraft performed!